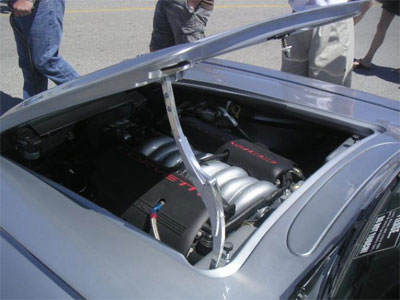
Smart Parts Hood / Trunk Prop Arm Installation Guide
The Smaft Parts Prop Arm may be mounted several difterent ways. The preferred
method is when the unit is installed with the pin set screw on the bottom arm. The arm
will swing toward you as you close the lid. The arm may be shortened if desired to any
of the holes. Be sure to use the nylon bushings and washers as per diagram , for bind
free movement. Use the metal bushing to cover the exposed bolt threads.
With the aid of another person
please carefully follow the next set of instructions
From the inside of the trunk, measure the gap from the lid to the quafter, Use the arm
assembly offset option #1 or #2, to obtain the proper offset. This is so the arm will
clear obstructions and the mounts will remain parallel.
Apply masking tape to the lid and quafter in the area where you would like to mount
the prop arm.
From inside, with the lid closed, mark the mount locations. Check for proper clearance
and arm swing, by having someone open and close the lid, while holding the arm
mounts on the marks. Observe the arm as the lid opens and closes. Install the arm
bases after you are satisfied with the arm operation, and oftsets. Reinstall the arm and
check for proper operation. Use /ocktite on stainless steel bolts ends so the bolts don't
loosen off.
Hood / Trunk Install Option 1 (View / Download)
Hood / Trunk Install Option 2 (View / Download)
|

